Showing posts with label Sewing for Boys. Show all posts

Monday, 22 September 2014

Summer Project List

Life has been busy which has been great! That also means blogging has been on the back burner. I decided to just make a list. 

This is a random post of everything I have done approximately the last 4 months. No tutorials. Just a picture list. Enjoy! x

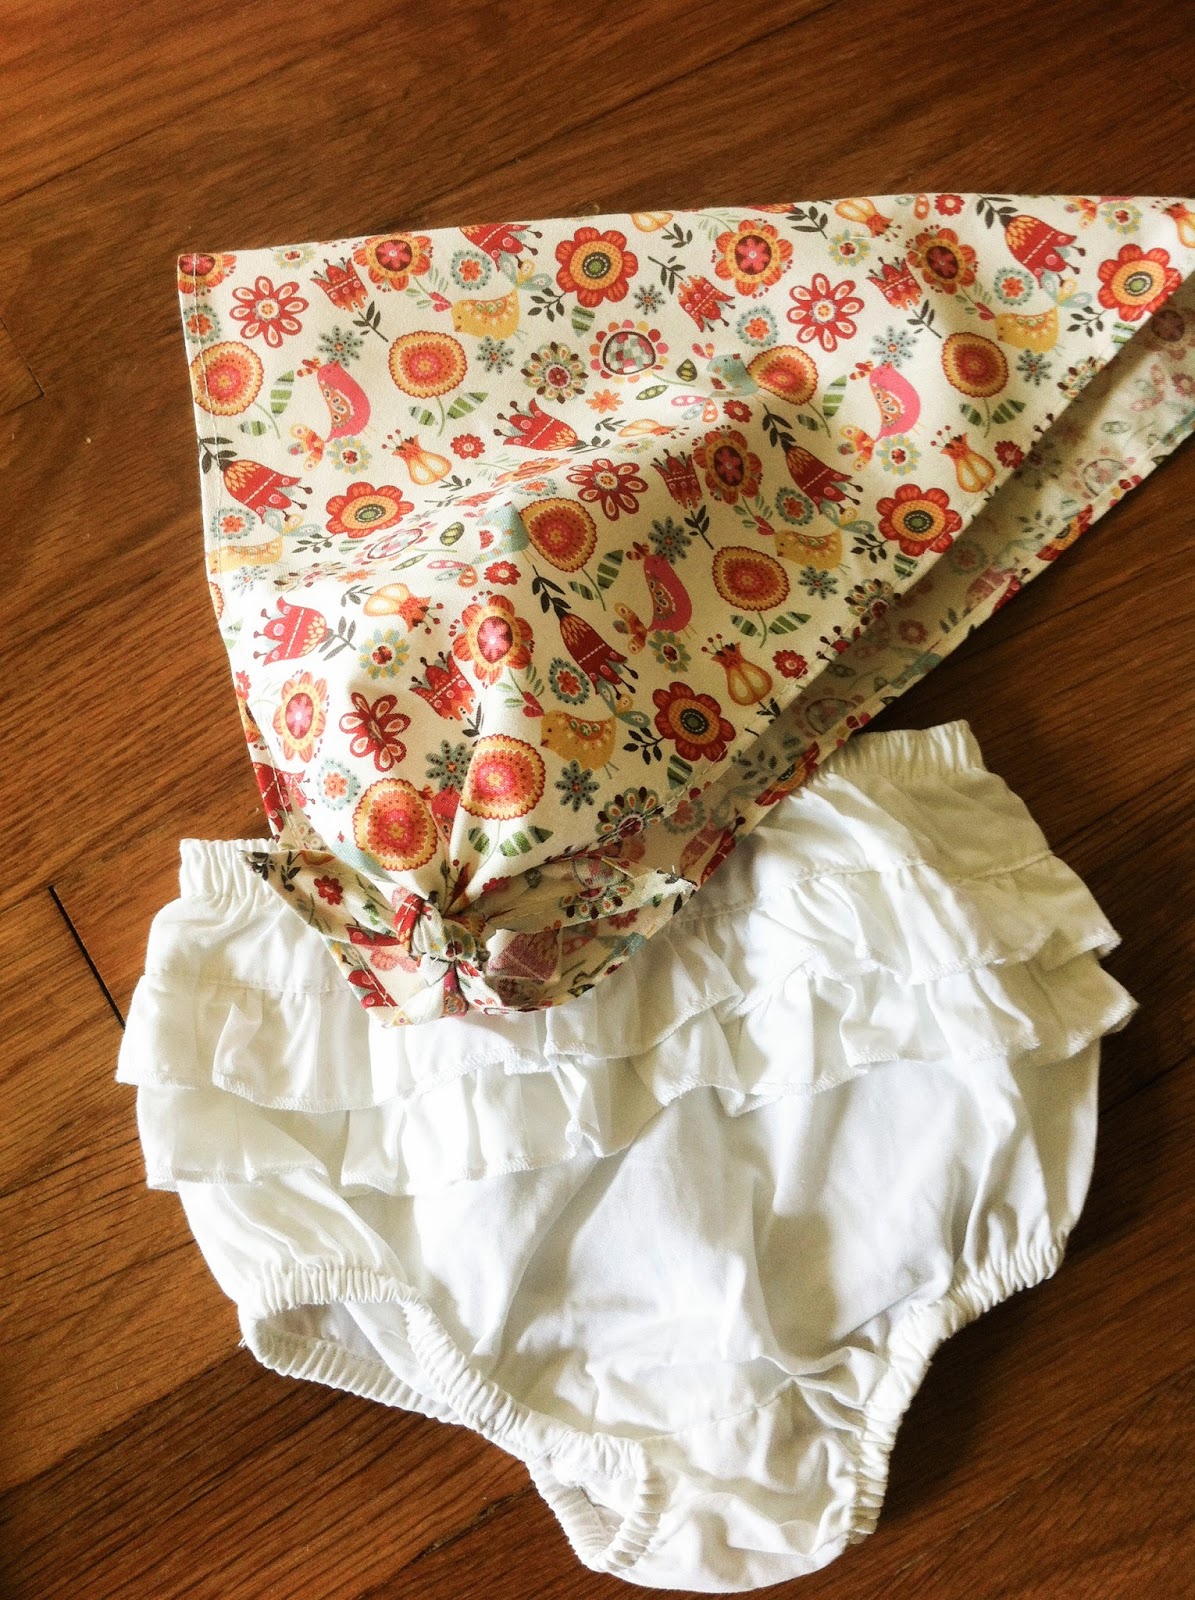
Baby/toddler bandanas.


Doll quilt.


Black cowl neck top.


Fabric houses for imaginative play. 


Buntings.


Infinity scarves.


Bow ties.


A copy cat cardigan. To the left is from the store. The pinkish one on the right I made.


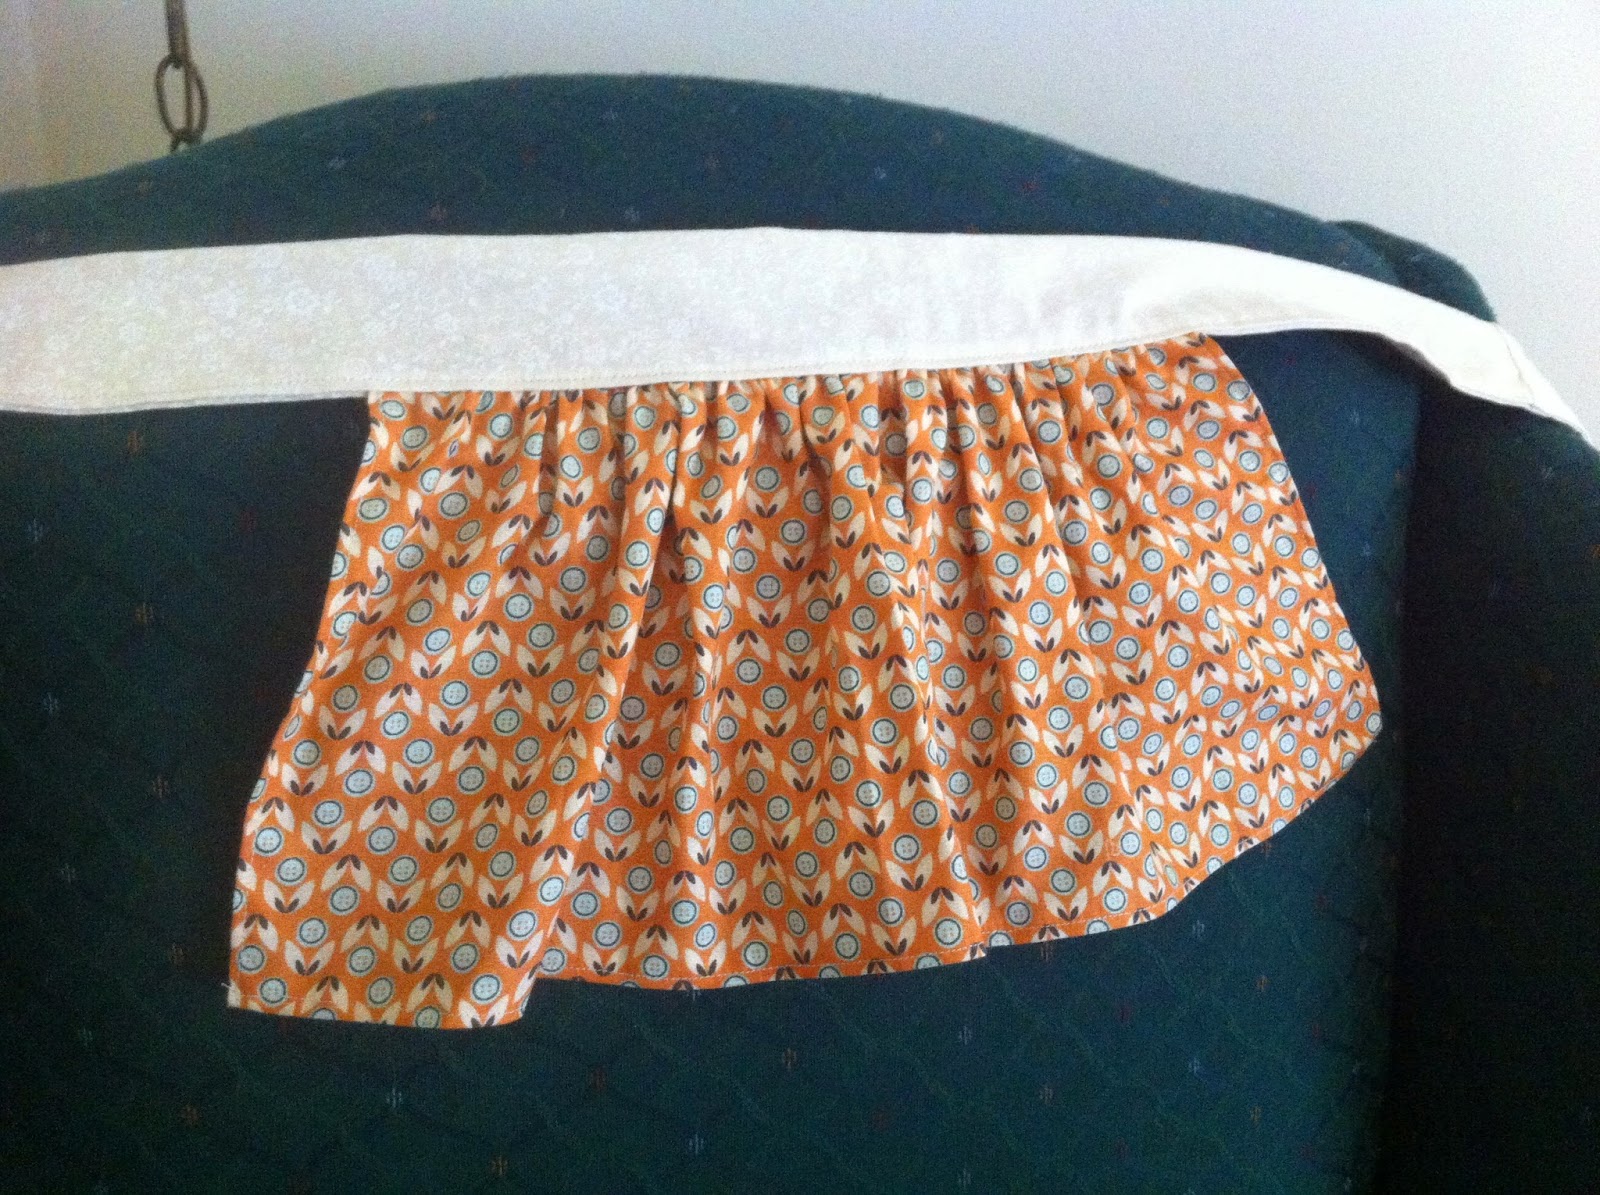
Toddler Aprons.


Skirts. Simple ones and a tiered ruffle skirt.


This dress for my beautiful friend!


Ties. All the ones pictured.


Kimono top. I wear this a lot. 


Wednesday, 26 March 2014

The Good Morning Robe! With Attached Sash.


Every morning the boys and I have done the same thing for years. Lately, a few things have changed, their demands a bit more specific.

They still want their milk and movie, lately they've been wanting blankets. But they can't wear blankets to the dining table for breakfast. I knew I had to make a morning robe!

Luckily, I already had a pattern! From Wal-Mart.


I changed one thing.

That loose sash that goes through loops? I knew that would be bad news for my son. He gets easily frustrated. For example: if the sash were longer on the one side than the other, he might start screaming or crying. If the sash were to ever get lost, or in the hands of his little brother, he might start screaming or crying. If the sash got caught on something as he walked, or if he tripped on it as he walked, he might start screaming or crying.

I have to be honest, I came up with this idea more for my own sake to avoid the unnecessary potential of screaming and crying.


I took the robe, decided where the sash would be and unstitched the serged hem. Then I cut the sash in half, inserted it and re-serged the hem. (He is pointing to the new inside seam.)


Close up on the outside:


Morning robes are great! A blanket you can walk around in! I love that happy face!


Thanks for stopping by!

xx

Sunday, 23 February 2014

Cabin Fever! Making the Indoors Fun


Hello!

To point out the obvious, I have been absent for months. One explanation: winter. Especially where we live where the snow just seems to love us here and doesn't quite get the hint it has overstayed its welcome. And although it is more than halfway through February, my four year old asked me the other day if we were in Santa's snow globe! Except we are a bit low on our candy cane supply...


With winter comes sickness and everything gets put on hold for a few weeks while me and the kids cuddle on the couch under blankets, a tissue box nearby with a Veggie Tales and Winnie the Pooh movie marathon. Winter also has too many grey days and can you guess what that does for my motivation levels? ;)

Once in a while, on those sunny days, I get a burst of energy and inspiration! 

A few things we have done: 

A Den!


This was a super quick sewing project. I cut out the muslin, made two holes for windows, and with scraps, either sewed or glued on some pictures.

I made a snip and just hung it over the chair like this:


My boys love playing under the dining room table and they have been having some extra fun with this. Who doesn't love to pretend they're eating spiders?


A Shadow Box!

Okay this actually involved no sewing but I wanted to add it because my preschooler loves it! Found the idea on Pinterest of course. 


I took a diaper box, cut off the flaps and let the kids first paint it. Then I taped the "stage" with a house. Glued some muslin over the front and DONE! Easy!

We then used cookie cutters on construction paper, then glued our characters to popsicle sticks. Here, the train is about to be eaten by a small snowman.... I caught it on video :)


A Teepee!

This is something that I have had my eye on since my four year old was a baby! I am so glad we were finally able to make it happen! My husband was a huge help making this. It is made from PVC pipes and I sewed the cover, not too shabby for a first timer but I have definitely learned how I can make it better next time! The pipes are seven feet tall and yes I know the front flap doesn't match the sides, I really don't think my preschooler and toddler care about that ;)

Next on the list is teepee accessories! A dreamcatcher? Some more pillows?


Thanks for stopping by!

xx

Tuesday, 10 December 2013

Elf Hats for Santa's Workshop


A while ago I was talking to a friend and she told me how she and her kids had gone to a Santa's workshop. They had elves and the kids could help the elves "make" toys and brought one home with them.

I thought that was the cutest idea ever and decided to surprise my kids by turning our dining room into a Santa's workshop!

I measured my four year old's head....


and with scraps I made these hats for them:


1. Cut 2 pieces of 5x4 inches of the cream/white knit fabric. Be sure the stretch of the knit is sideways. Alternatively you could also make one long band but I did 2 pieces.

2. Fold into triangle, 5x12inches, so the base is 10 inches. Again check the stretch of the knit.

3. Just another view.

4. With right sides together, sew the two side seams. Leave the bottom one open.


5. Take the 2 pieces of cream, right sides together and sew the edges together to make one long band.
6. Fold over.
7. Place inside the hat, match the raw edges and pin.
8. Sew.


Some easy tassels for the top point of the hat:


Just cut 8 strips of the same cream/white knit fabric and hand sew on the tip of the hat!

In Santa's workshop they were to paint some toys ($1 at Wal-Mart and the Dollar store), and then after they went to bed, Santa picked up those toys and left a thank you note for helping!

Axel wouldn't keep his hat on so Daddy, the Head Elf, wore it instead :)
The kids favourite part was actually the hot chocolate with marshmallows (which was actually cold!). 


Hope you are enjoying Christmas activities with your kids!

Thanks for stopping by!

xx

Tuesday, 28 May 2013

Infinity Scarves


Infinity scarves hit the store shelves a few years and they are brilliant! 

I finally got around to making a few.

I have seen different cotton blends and knits for these scarves, but I chose chiffon. 

I also read a few tutorials who say to get 2 yards of fabric. Really? I got 1/4 yard. In my head that equals a 1/4 of the price! 

Anyhow, I followed this tutorial on the sewcreativeblog which was super easy to understand and making these really takes no time at all!

I made three so far, one was a gift for a friend....


I did learn a few things.

If you are lazy like me and decide to use whatever is plugged in, you may end up with this:


A seam so big you can see it through your thin scarf! So I redid that one.

Another thing, after I straight stitched the two sides together, I used these pinking scissors to help with the unravelling:


Overall I am quite happy with the end results.

I realised the last few weeks I have become autumn-minded working with knits and making scarves, maybe because of the cold spell that has recently hit us? Who knows but I am glad they both match my fall jacket perfectly!


Thanks for stopping by!

xx

Saturday, 18 May 2013

Monster Face Knees!


Years ago on Pinterest I saw a cute way to mend those holes at the knee. I remember thinking I wanted to cut a hole in my son's jeans just so I could make a monster face!

The opportunity finally came. He wore out these cargo pants enough for me to make a simple monster face.


It was quick, simple and fun!

Just using some thick interfacing, a zig zag stitch and a sharpie marker.


1. Turn pants inside out. Trim excess thread.
2. Close the hole as much as you can.
3. The side of the interfacing with glue dots should be on the fabric.
4. Your iron should be hot. Hold down for about ten seconds. Make sure you get those corners.

Then I sewed a green zigzag with my sewing machine.

I have seen others that used felt to make the face but I just used the interfacing for the teeth and eyes. Ironing it on.

UPDATE: the interfacing does not last. I am getting some felt for next time...

I hand sewed in some blue hair.

Not so detailed as some others that I have seen but my Ethan liked it and that's all that matters really.


Thanks for stopping by!

xx

Wednesday, 15 May 2013

Sesame Street Pillow

A while back I had made a bandana pillow for little Axel. I should have made two! I need to always think in twos but hey, I'm human and don't always realise or think.

So instead of another bandana, I decided to make a pillow of the sesame street fabric I had. Luckily Axel still prefers his and Ethan LOVES his!

What three year old wouldn't love this BRIGHT thing! hahaha

I did the exact same thing as before. 

Using the pillow cover as the lining, cut/sew, stuff and finish. 

I love how fast and easy pillows are to make!


I have also been doing a bit of what I call "admin sewing". Those things that need done but really aren't that fun to mention. Fixing PJ seams, hemming more jeans, making rice hot packs, altering dresses, but it all takes time. 

I continue towards my goal of learning all about dressmaking, which is very time consuming but also fun and exciting! Will post again soon!

Thanks for stopping by! 

xx